There’s something uniquely cool about a distressed hat—whether it’s a faded baseball cap or a well-worn wool fedora. Distressed hats have a character that new ones just can’t match, showing off your personal style and telling a story.
If you want to add some vintage flair to your favorite cap or give your fedora that lived-in look, distressing it yourself is a fun and easy DIY project. It’s a great way to save money, make your hat unique, and give it a cool, worn-in vibe.

Getting Started: Essential Tools and Materials
Before you start making your new hat look well-travelled, you’ll need a few tools. Don’t worry; you don’t need to be a DIY expert to do this. Here’s what you’ll need:
- Sandpaper (fine and coarse grit) – to wear down the fabric.
- Seam ripper – to gently fray the threads and give that rugged look.
- Scissors – for cutting and snipping areas to make it look worn.
- Cheese grater – surprisingly effective at adding texture and wear.
- Olive oil or vegetable oil – for creating sweat stains or darker spots.
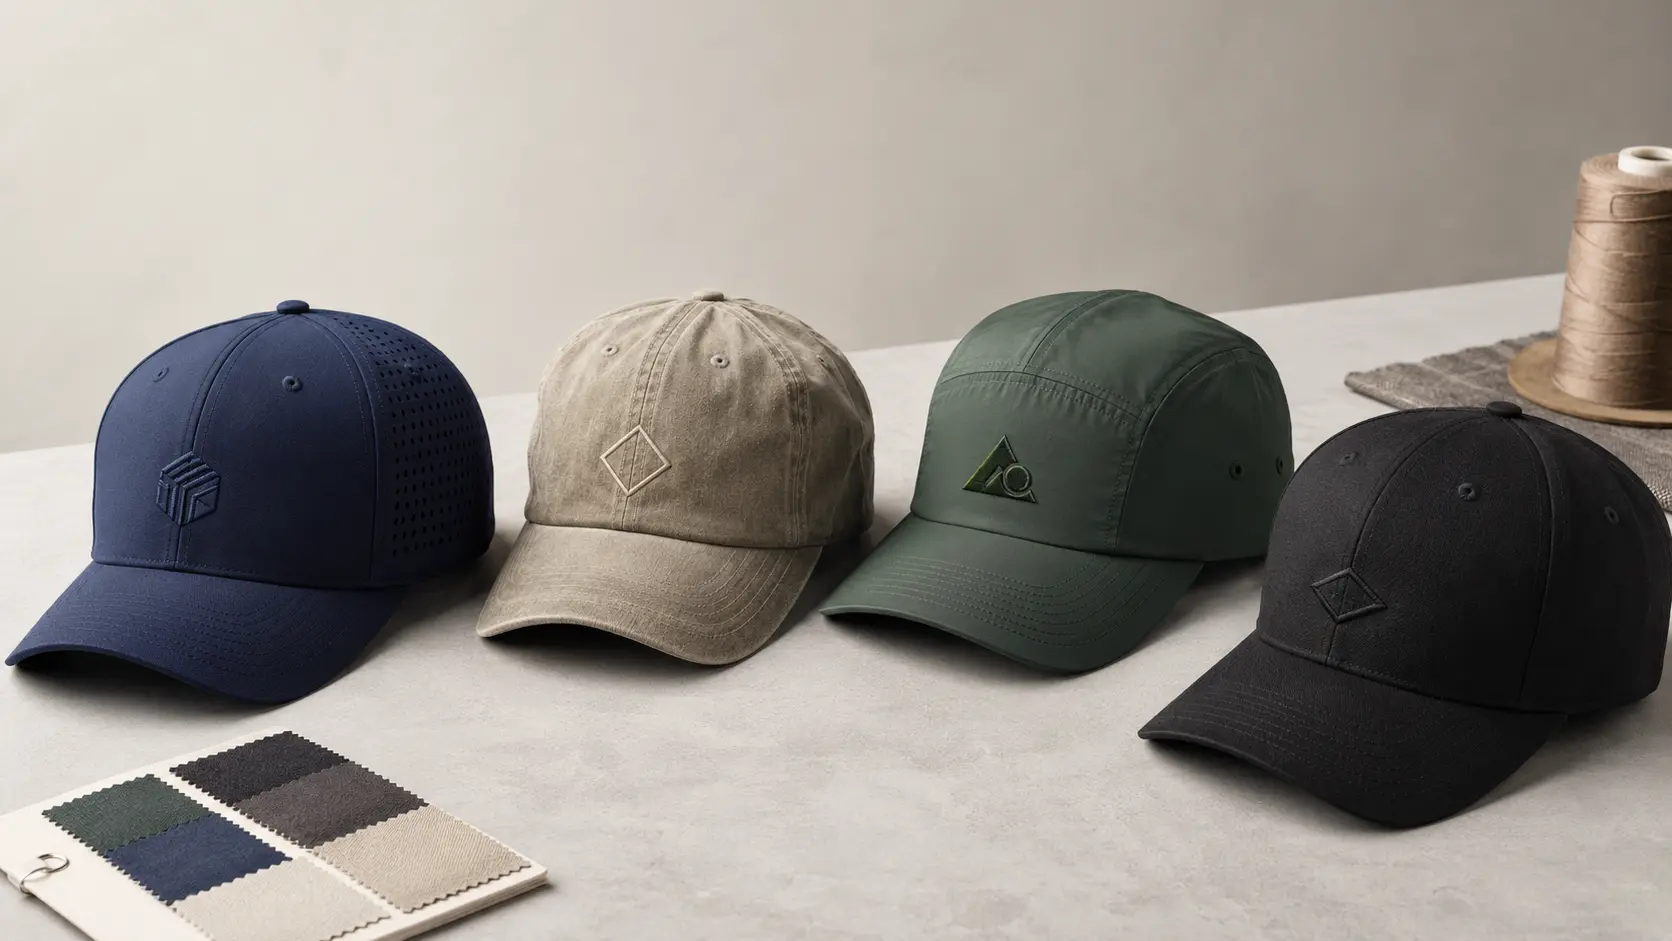
When it comes to hats, not all hats are created equal. Baseball caps are typically made of sturdy materials like cotton, denim, or polyester, which are great for distressing.
On the other hand, hats made of delicate fabrics like silk, cashmere, or linen might not be suitable for distressing. You don’t want to accidentally ruin a pricey fabric, so always check what kind of material your hat is made of before you start.

Preparing Your Hat for Distressing
Before you start pulling out the sandpaper, it’s important to prep your hat. Here’s a quick guide to get your hat ready for the distressing process:
Wash the Hat: Start by washing your hat to soften up the fabric. For cotton or polyester baseball caps, throw it in the washing machine. Use warm to hot water for these materials to help fade the fabric and start the aging process.
But if you’re working with a wool fedora, be sure to go for warm water—hot water can damage the delicate wool.

Drying: After washing, allow the hat to air dry. You don’t want it stiff from the dryer, so let it dry naturally, and it will be easier to shape.
Shape the Brim: If you have a baseball cap with a super stiff brim, you’ll want to make it more flexible. Here’s an easy trick: grab an empty coffee mug and place the brim inside.
Let it rest there for several hours to form a natural curve that’s soft and well-worn. This simple step will give it that perfect, worn-in look without too much effort.
How to Distress a Baseball Cap
Fraying the Brim
Start by using fine-grit sandpaper to gently rub the edge of the brim. Sand back-and-forth in short strokes to avoid tearing the fabric too quickly. If you want a more intense look, switch to coarser sandpaper for a rougher effect.
Next, use a seam ripper or small scissors to cut some of the stitching around the brim. Rub the threads between your fingers to let them naturally fray. Start light—you can always add more fray later.
Softening and Fading the Fabric
Once the brim is frayed, it’s time to soften and fade the fabric. Wash your cap in hot water to soften it and fade the color, giving it that worn-in look.

For extra fading, brew some strong coffee or tea, let it cool, and lightly spray it on areas where you want a sun-faded effect. This gives your cap that “been through the sun” vibe.
Shaping the Bill
Finally, gently bend the brim with your fingers to create a soft, broken-in curve. The bill should feel flexible, giving your cap that relaxed, lived-in look.
Distressing a Wool Fedora
Gentle Distressing for Wool
Wool fedoras are delicate, so it’s important to approach distressing with care. Unlike baseball caps, hot water can ruin wool fibers. Instead, use warm water for washing. This will still give your fedora that aged, worn-in look without damaging the fabric.
To mimic sweat stains or body oils, you can create a simple DIY solution using olive oil or vegetable oil. Lightly spray or dab this mixture onto the fedora’s crown and brim to add subtle marks that give the hat a more authentic, vintage vibe.

For natural creases, twist the fedora gently and secure it with rubber bands. Leave it overnight, and when you remove the bands, you’ll see lovely, worn-in creases on the hat.
Fraying Wool
Fraying wool felt can be tricky, but it’s doable! Use a cheese grater to gently rough up the edges or even the crown. You can also go old-school with a rock.
Simply rub the rock against the fabric in both directions—along the nap and against it—to create rough spots and worn textures.
For an extra touch, try DIY solutions like saltwater mixed with tea or coffee. This will not only darken certain areas but also create stains that enhance the distressed look.
Conclusion
Distressing your hats is a fun and creative way to personalize them. Not only does it give your cap or fedora a unique, vintage style, but it also adds comfort as you break in the fabric.
Whether you’re working on a baseball cap or a wool fedora, distressing allows you to put your own stamp on a new accessory, making it truly yours.
Find Your Perfect Hat at JoinTop

Distressing a hat is a great way to add personality and style, but sometimes, you just want a high-quality cap that already looks and feels perfectly broken in.
At JoinTop, we specialize in manufacturing premium custom hats, including baseball caps, snapbacks, bucket hats, and more—all designed for comfort, durability, and style.
Whether you’re looking for a classic cap to distress yourself or a pre-washed, vintage-style hat, we’ve got you covered.