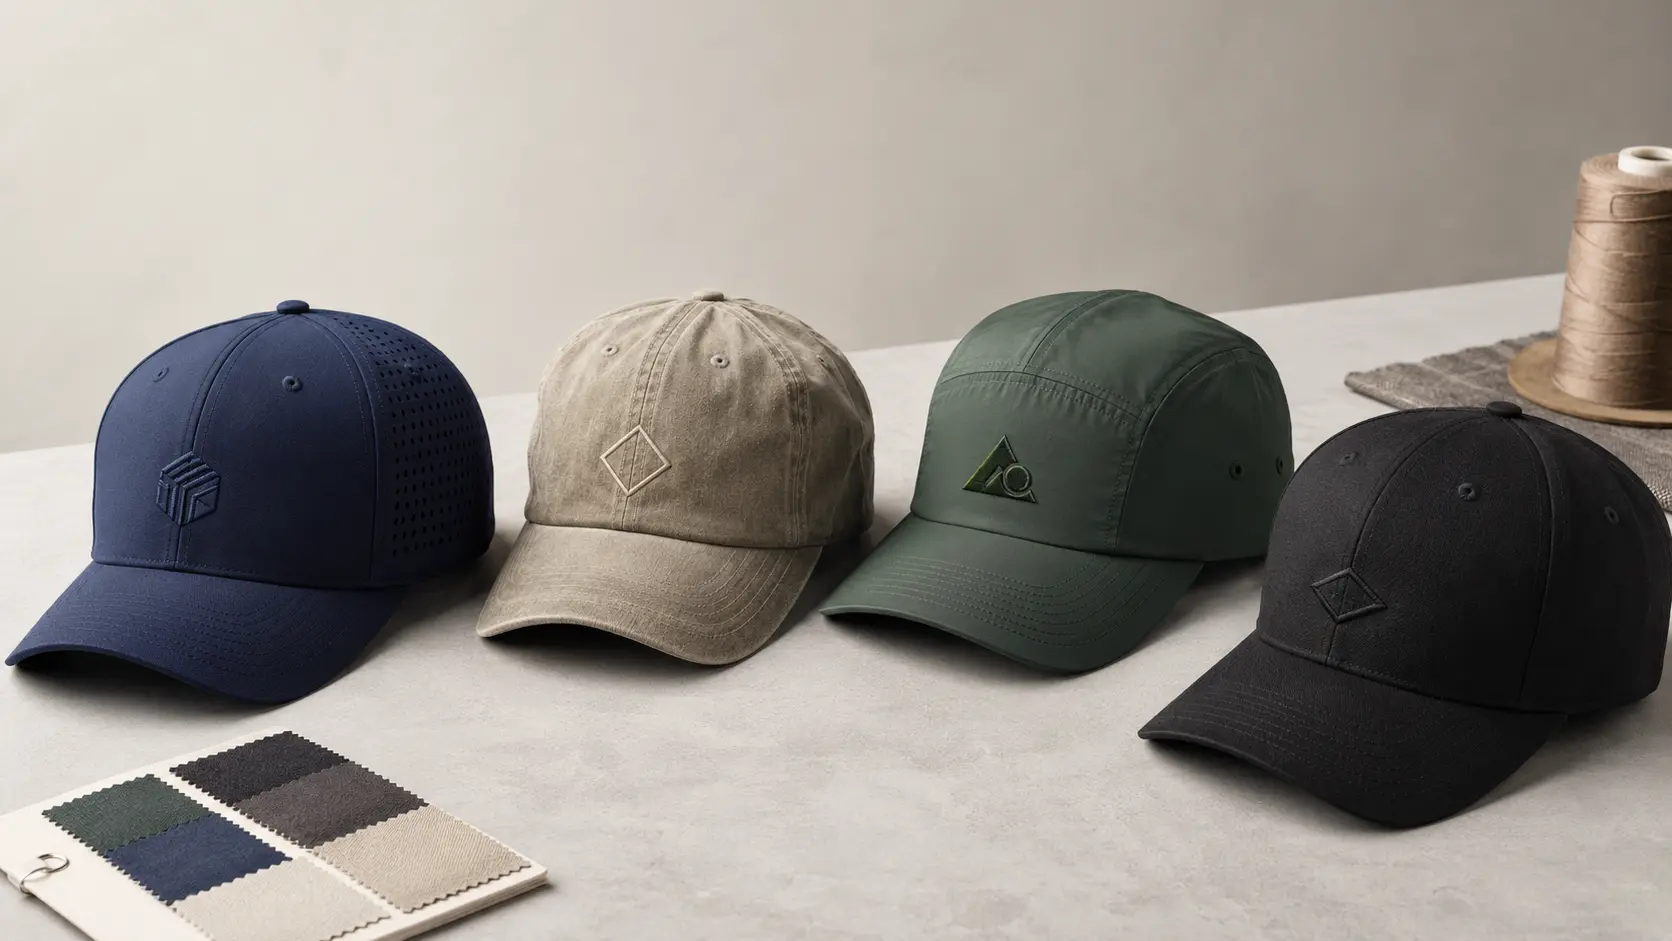
Your trusty baseball cap is with you everywhere, blocking the sun and adding to your style. But after much wear, sweat, dirt, and stains can add up. Fear not, fellow cap lover!
Washing a baseball cap is easy, and this guide will show you how. We’ll cover hand washing and machine washing methods so your cap stays fresh and keeps its shape for years to come.
With a little love, your favorite hat will look its best for many adventures to come.
Preparation
Washing your cap is easier than you think. Here’s a step-by-step guide to get you started, from gathering your cleaning supplies to drying techniques.
Assemble your team: Before you begin, gather your supplies. You’ll need a clean sink or basin to be your washing station.
Fill the sink or basin with cool or lukewarm water – hot water is a no-no! Next, grab some mild laundry detergent to wash your cap.
A soft-bristled brush can be a helpful tool for tough dirt, but it’s optional. Don’t forget a clean towel for drying, and finally, find a well-ventilated spot for your cap to air dry.
Read the care label: This small label on your cap is your best friend. Always check the care label before washing to see what the recommended method is – hand wash or machine wash. And to check if there are any special instructions from the manufacturer.
Tackle tough stains (optional): For tough stains that won’t go away, try a gentle pre-treatment with a stain remover. This will help loosen the grime and get a deeper clean.
Handwashing a Baseball Cap

Give your favorite cap a spa day! These handwashing steps will show you how to gently remove dirt and sweat and leave your cap looking fresh and ready for anything.
The Soak
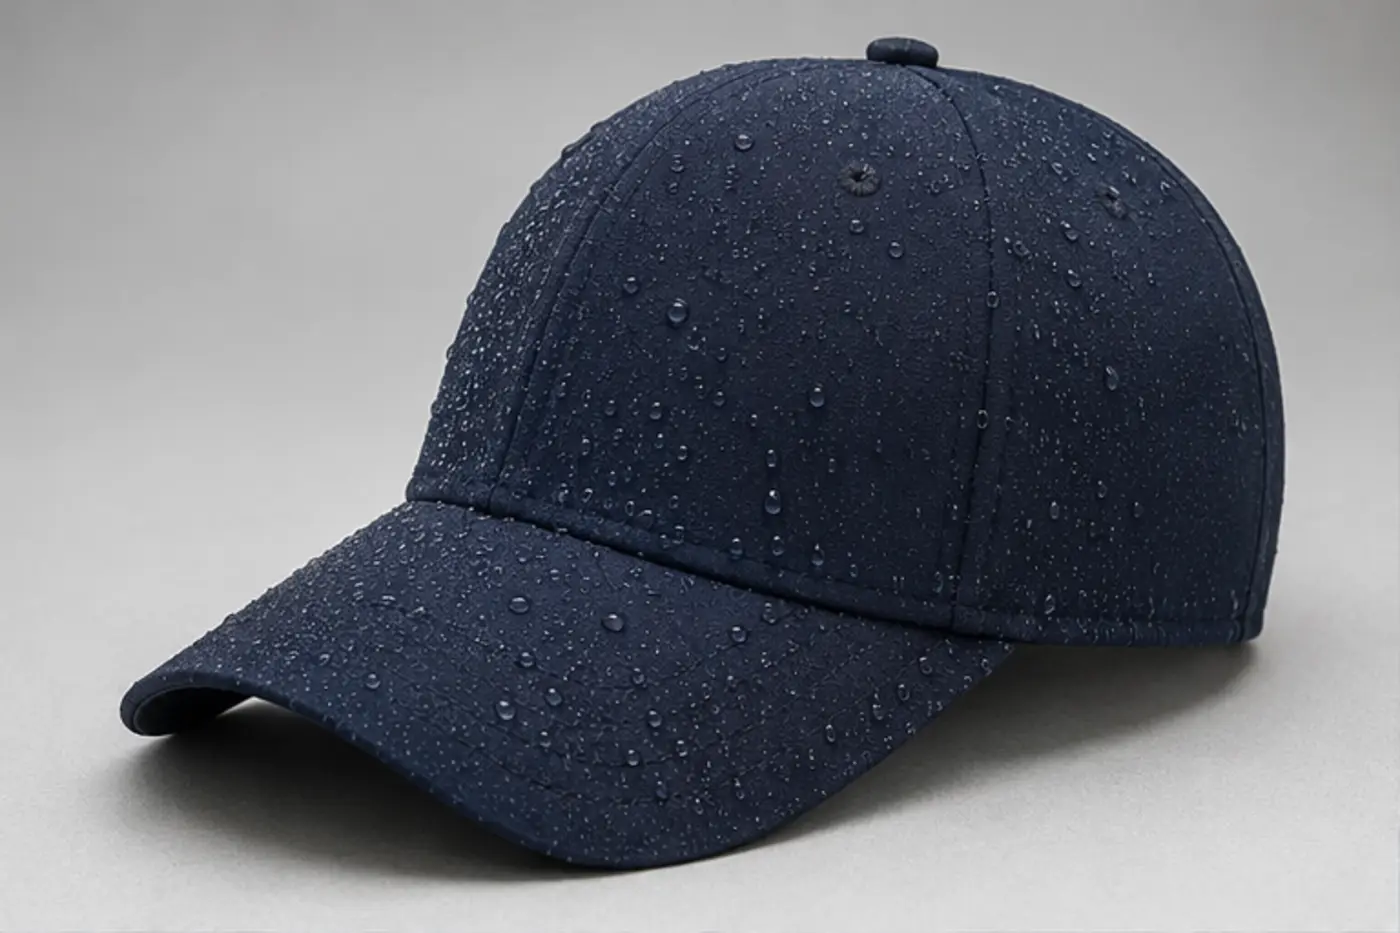
- Cool or Lukewarm Water is Best: No hot water! It can shrink your cap or cause colors to run. Fill a clean sink with cool or tepid water.
- Mild Detergent for a Gentle Touch: A mild touch – just a couple of drops of laundry detergent or a teaspoon of diluted laundry soap will do. Harsh detergents can damage the fabric
Soak and Swish for a Clean Cap
- Soak and Submerge: Submerge your cap in the soapy water and let it soak for a few minutes. This allows the soapy water to get into the fibers and loosen dirt and grime.
- Squeeze and Release: Occasionally squeeze the hat throughout the soak. This helps the soapy water circulate and work its magic on the fabric from the inside out.
- Swish for Extra Boost (Optional): For an extra cleaning boost, swish the cap around in the water for a few minutes. Just be gentle! You don’t want to agitate the cap too much.
Target Trouble Spots (optional):
For really dirty areas like the sweatband or brim, a soft-bristled brush is your best friend. Dip the brush into the soapy water and gently scrub the dirty areas. Remember, gentleness is key to not damaging the fabric.
Deep Clean for the Heavily Soiled (optional):
Heavily soiled caps may need a deeper clean. If that’s the case, let your cap soak in the soapy water for 15-30 minutes.
Rinse, Repeat, and Farewell Suds: Banishing the Bubbles
- Rinse, Rinse, Repeat: Once you’ve soaked or swished your cap, it’s time to rinse. Remove the cap from the soapy water and rinse under cool running water. Rinse again until all the suds are gone.
You can even hold the cap under the faucet and squeeze it to get out any remaining bubbles.
- Bye, Bye Suds: Inspect the cap to make sure all the soap is rinsed out. Look for any remaining suds, especially around the seams or sweatband. One little bubble means there’s still cleaning residue on your cap, which will attract dirt later.
Be patient and keep rinsing until your cap is squeaky clean and suds-free.
Gentle Touch: The Art of Squeezing
- Don’t Wring: Don’t wring or twist your cap! This will distort the shape and ruin the look.
- The Squeeze: Instead, squeeze gently. Imagine you’re giving your cap a hug to get out excess water. Squeeze out as much water as you can without applying too much pressure.
- Shape Up: As you squeeze, gently shape the cap with your hands, especially the brim and crown. This will help it keep its original shape as it dries.
Machine Wash a Baseball Cap

Thinking about throwing your baseball cap in the washing machine? Hold on! These steps will show you the proper way to machine wash your cap.
They include using a mesh laundry bag, selecting the delicate cycle, and air drying it to prevent shrinkage
Machine Wash? Check First (and Often): Not all baseball caps are created equal! Before you throw your cap in the washing machine, check the care tag.
It’s the key to success. It tells you if machine washing is allowed or not.
Protect Your Cap with a Mesh Bag: Imagine your cap on a wild washing machine ride! To ensure it comes out unscathed put it in a mesh laundry bag. This is a protective shield to prevent your cap from getting caught on other clothes or losing its shape during the wash.
Delicate Cycle is Your BFF: When it comes to washing your cap, harshness is not the way to go. Choose the delicate or cold water cycle on your washing machine. Hot water and the regular wash cycle is too rough for your cap’s delicate fabric.
Mild Detergent is the Gentle Touch: Just like you wouldn’t use heavy-duty soap on your face, use mild laundry detergent on your cap. A little goes a long way.
Skip the Extras: Bleach and Fabric Softener Be Gone! Bleach might be tempting for tough stains, but it can harm the fabric and color of your cap. Fabric softeners may leave a residue that attracts dirt. Just use detergent for a safe and clean cap.
Air Dry Only: The dryer might seem like an easy way to dry your cap, but resist the temptation! The heat can shrink your cap and distort its shape. Let your cap air dry naturally – it’s the safest and best way.
Drying and Reshaping Your Baseball Cap
Air drying is important, but there’s more to it! Learn how to dry and reshape your cap to prevent shrinkage and keep its original shape.
Shaping Up for Success: Keeping Your Cap in Form
Wet cap? Perfect time to reshape!
A few quick adjustments while your cap is damp can make a big difference. Learn how to reshape the brim and crown for a perfect finish.
- Reshape the Brim: While your cap is still wet and pliable, reshape the brim with your hands. Hold the brim by the edges and bend it outwards to your desired shape.
- Mold the Crown: Don’t forget the crown! Use your hands to gently mold the crown back to its original shape. You can also use a clean round object, like a small ball, to help you get the perfect roundness.
- One Last Check: Before you leave your cap to dry, do a final check and make any necessary adjustments to the brim and crown. Remember, you have a little more wiggle room while the cap is wet. So make sure it’s shaped how you want it before it dries and sets in that shape.
Air It Out: Drying
Now that your cap is clean, it’s time to give it some air! Place the cap upside down on a clean towel or drying rack. For extra shaping power, stuff the crown with a clean, absorbent towel.
This will help the cap keep its shape as it dries.
Sun’s Out; Cap’s Not Out: Where to Dry
While sunshine might be tempting, it can ruin your favorite hat. Here’s where to dry your cap to keep the colors alive.
- Sunburn for Your Cap? No Thanks: Sunshine might feel good on your skin, but it can ruin your baseball cap. The UV rays can lead to fading of colors unevenly and leave your cap looking patchy and worn.
- Seek Shade or Indirect Light: The perfect spot to dry your cap is a well-ventilated area with indirect sunlight or shade. This allows for air to circulate and dry the cap without the harsh effects of direct sun.
- Indoor Options: If you don’t have a shaded outdoor area, no problem! You can air-dry your cap indoors. Look for a well-ventilated room with good air circulation, away from any direct heat sources like radiators or vents.
Be Patient
Good things come to those who wait! Let your cap air dry completely, which can take a few hours. Don’t rush the process by using a hairdryer or putting it near a heat source.
High heat can harm the fabric and shrink your cap. Let it air dry naturally for best results.
Additional Tips and Tricks: Keeping Your Cap in Top Shape

Don’t stop caring for your cap after the wash! This section has more tips to keep your favorite headwear fresh and in shape for longer wear. From tackling a tough sweatband to storage techniques, these tips will keep your cap in top condition for many seasons to come.
- Tackling a Tough Sweatband: For a really grimy sweatband, a pre-treatment can work wonders. Prepare a paste by combining baking soda and water. Apply this paste to the sweatband and leave it on for 30 minutes.
The baking soda will absorb sweat and neutralize odor. Rinse the sweatband thoroughly with clean water before washing the whole cap (if needed).
- Quick Refresh without a Wash: Need a quick fix for your cap? A lint roller is your best friend! It removes dust, fuzz, and any unwanted lint that’s stuck to the surface. You can also use a soft brush to delicately loosen dirt and debris from the fabric.
- Storing for Long Lasting Wear: Once your cap is clean and dry, proper storage is key to keeping it in shape and life. Choose a cool, dry place to store.
Don’t store your cap in a bag or pocket, as this can cause creases and distort the shape. Ideally, store your cap on a shelf or hang it on a hook.
Conclusion
So there you have it: keeping your baseball cap clean and fresh is easy. Follow these simple steps for hand washing or machine washing and proper drying. You’ll have your favorite hat looking good for years to come.
With a bit of TLC you can banish sweat, dirt, and stains. This makes your cap look its best for many adventures to come.
Ready to join the hat club?
Head to JoinTopHat today! We have a wide range of high-quality baseball caps to suit every style.
You’ll also find hat care tips and tricks to keep your caps looking good season after season. So what are you waiting for? Join Top Hat today and level up your hat game!