
A performance cap visor specification defines the brim as a complete assembly covering shape, dimensions, curve, insert, fabric cover, edge finish, stitch rows, crown attachment and approval method. These details let a brand compare samples against one reference and carry the approved result into bulk production.
The word visor is often reduced to flat or curved in an RFQ. That leaves room for several interpretations. Two factories can start with the same reference photo and produce different projection, width, stiffness and front profile. The difference becomes obvious when the cap is worn, packed or photographed for a product page.
A buyer does not need to prescribe every machine setting. The useful brief fixes the design intent, measurement method and acceptance evidence. The supplier can then propose materials and construction that fit the activity, price level and production volume.
Start with the intended wearer and sales channel. A running cap may need a light, low-profile visor. A golf cap may use a stable pre-curve. An outdoor or travel style may call for a softer brim that packs with less permanent distortion. A flat visor can suit a different silhouette or decoration plan. Each direction changes the pattern, insert and packaging discussion.
| Visor direction | Points to approve | Common development risk |
|---|---|---|
| Flat | Side profile, projection, width, edge shape, stitch layout and whether the wearer may curve it | Unplanned upward or downward set where the visor joins the crown |
| Pre-curved | Curve reference, symmetry, spring-back, crown relationship and packing support | Different curves between samples or after shipment |
| Soft or packable | Insert construction, fold direction, recovery check and storage method | Creasing, edge roll or poor recovery after folding |
| Short performance profile | Center-front projection, side coverage, vision clearance and balance with crown depth | A brim that looks too small or exposes more of the face than intended |
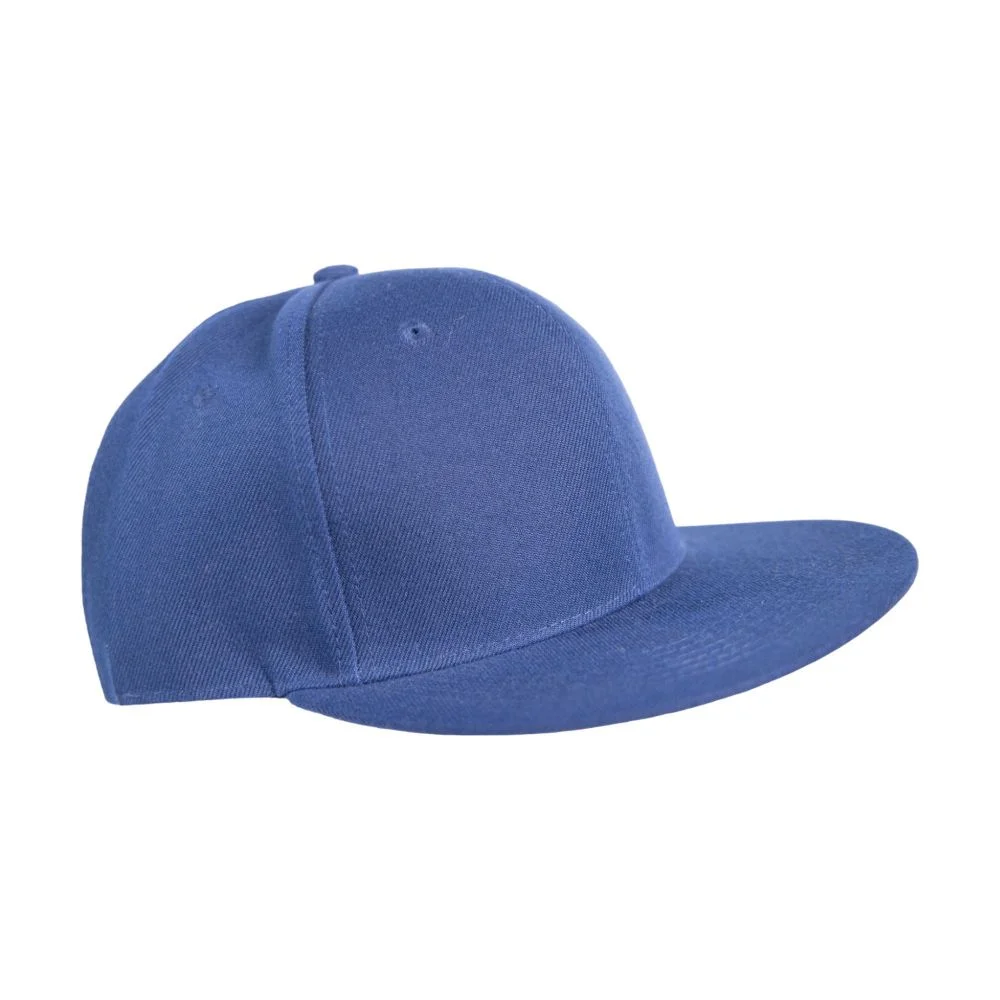
Record the selected direction in the performance cap tech pack. Add front, side and underside views so the factory can see the intended relationship between crown and visor. A photograph can support the drawing, but it should not replace dimensions and a physical approval reference.
Terms such as brim length can mean different things. One team may measure a straight line from the center-front crown seam to the outer edge. Another may follow the curved surface. Name the start point, end point, direction and tool for every measurement.
| Specification field | Clear instruction | Approval evidence |
|---|---|---|
| Center-front projection | Measure from the crown attachment line to the outer edge along the stated path | Drawing with reference points plus sample measurement |
| Maximum width | State where the widest span is taken and whether the visor is flat or held to the approved curve | Top-view drawing and recorded width |
| Outer-edge shape | Provide a scaled outline, pattern file or approved template rather than a general word such as rounded | Overlay against the approved outline |
| Attachment shape | Identify the visor-to-crown seam line and left, center and right alignment marks | Construction drawing and symmetry check |
| Finished thickness | State the location, conditioning and tool used for comparison | Approved sample plus agreed tolerance |
| Curve | Use a profile template, fixture, chord-and-rise method or another repeatable method | Named method, fixture image and sample result |
Keep the cap in a defined condition before measuring. A visor taken straight from a tight carton may not match one that has rested or been reshaped by hand. Record whether the check is made before or after conditioning, and apply the same handling rule to the approval sample and bulk inspection.
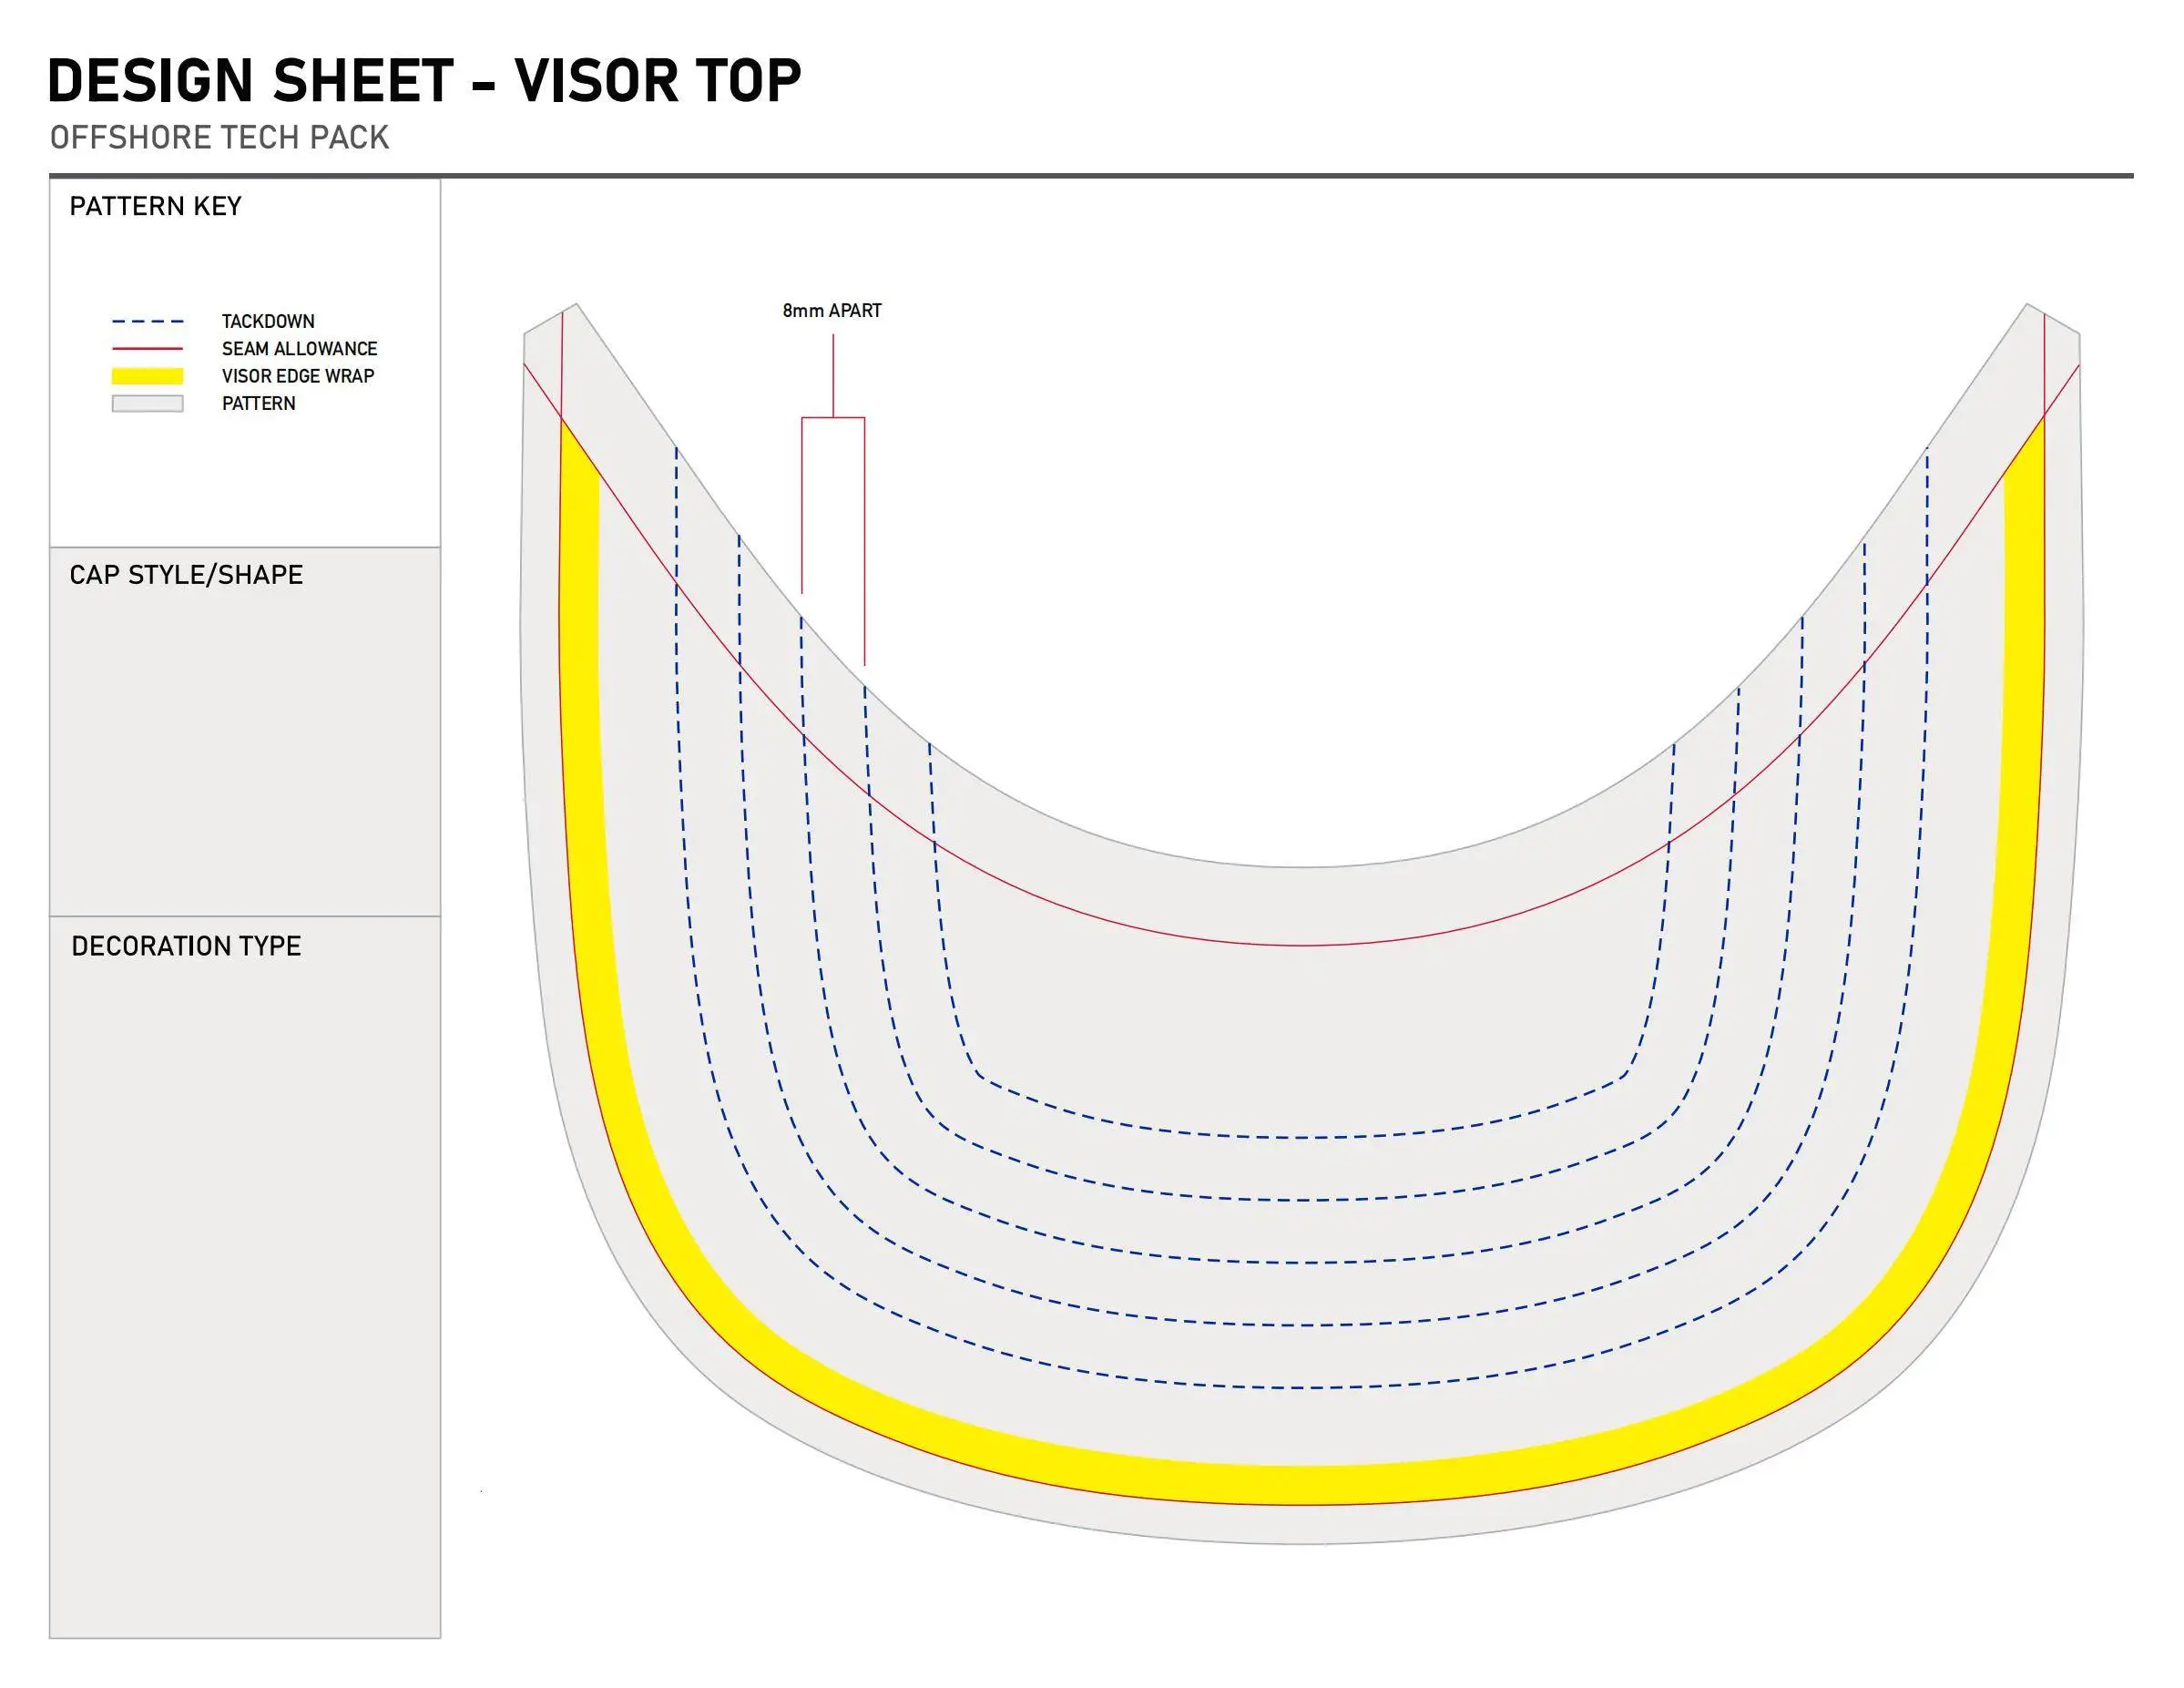
A visor can meet its own measurements and still look wrong on the cap. Crown depth, front-panel angle and attachment position affect the side profile. Review the visor with the approved crown rather than as a loose component. The performance cap fit specification guide explains how to control crown depth, opening and size grading alongside the brim.
The insert controls much of the visor’s shape and feel. Record its material code, composition when known, thickness, density or grade, supplier reference, color and approved stiffness comparison. If the program needs recycled content or another material claim, request traceable documentation for the exact insert rather than relying on a general statement.
The cover adds its own behavior. A woven shell, stretch fabric, laminate or brushed material can change surface tension, edge roll and stitch appearance. Define the top and underside materials separately when they differ. Note grain or stretch direction, color, finish and whether the edge is wrapped, bound or turned.
| Assembly element | What the buyer should record | Reason for the record |
|---|---|---|
| Insert | Material or supplier code, composition, grade, thickness, color and approved stiffness reference | Reduces unapproved substitutions that change feel or curve |
| Top cover | Fabric code, finish, grain or stretch direction and cutting orientation | Controls surface appearance and tension over the insert |
| Underside cover | Fabric code, color, finish and decoration requirement | Controls the wearer-facing view and any contrast treatment |
| Edge finish | Wrap, binding or turn method, seam allowance and approved edge profile | Controls bulk, smoothness and exposed raw edges |
| Finished assembly | Thickness, stiffness comparison, curve, symmetry and recovery rule | Confirms the materials work together in the cap |
ASTM D1388-23 is an active method for measuring fabric stiffness. It covers bending length and flexural rigidity and notes that its procedures are generally more suitable for woven fabrics than knits. It can support a controlled comparison of visor-cover fabrics when a qualified laboratory considers it suitable. It does not measure the finished visor assembly or set a universal pass value for a cap brim.
When the insert or cover changes, repeat the relevant sample checks. Matching thickness alone does not establish matching stiffness, curve retention or sewing behavior. Keep the accepted material codes tied to the sample ID and purchase order.
Parallel stitch rows are visible design features and part of the assembly. Specify row count, thread, first-row distance from the edge, spacing between rows, start and stop treatment and allowable waviness. State whether the stitches pass through every layer or serve another construction purpose.
The seam attaching the visor to the crown is a different control point. Define alignment marks, seam construction, allowance, reinforcement and acceptable skew. A symmetrical visor outline can still sit off-center if the attachment marks or crown opening drift.
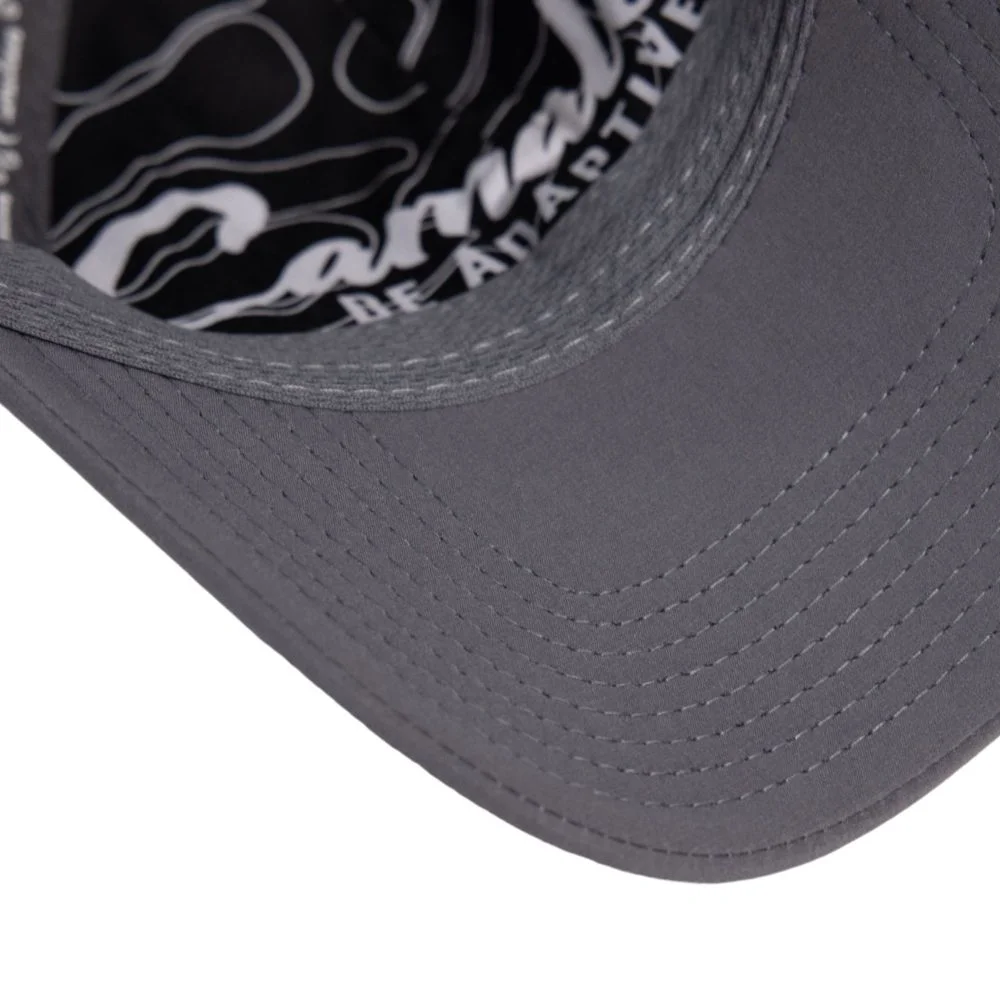
ASTM D6193-16(2025) is an active practice covering stitches and seams used in sewn products. It provides useful terminology for the construction discussion. The correct combination still depends on the fabric, insert, thread, stitch setting and intended use. The performance cap seam strength guide covers how to connect those variables with evidence and production controls.
Use the first sample to settle the profile and construction. Measure the visor in the agreed condition, compare it with the drawing and photograph the front, side, top and underside. Then wear the cap long enough to judge vision, pressure at the temples and balance with the crown.
The performance cap sample approval checklist helps buyers capture the complete cap revision. Do not approve a brim from photos alone when curve, thickness or recovery affects the purchase decision.
A tolerance has meaning only when different inspectors can repeat the measurement. First agree on the reference points, tool, conditioning and fixture. Then review development samples and production capability before setting the acceptance range. Copying a number from an unrelated style can create a limit that is either too loose to protect the design or too tight to produce consistently.
Separate measurements that affect fit or silhouette from minor cosmetic variation. Record the action for an out-of-tolerance result. The plan may call for segregation, re-measurement, rework, a documented concession or rejection. The buyer and supplier should agree on that route before shipment.
At line setup, compare the insert, cover orientation, pattern, stitch settings and attachment marks with the approved reference. Inline inspection should watch for changes that can grow across a batch, including a shifted pattern, inconsistent curve, uneven topstitching or an off-center attachment.
| Production stage | Visor control | Record to retain |
|---|---|---|
| Incoming material | Insert and cover codes, color, thickness and approved material reference | Lot identity, supplier code, findings and disposition |
| Cutting and preparation | Pattern revision, grain direction, pair symmetry and alignment marks | Line or batch, pattern revision and setup approval |
| Sewing and assembly | Row count, spacing, edge profile, cover tension and crown attachment | Inline quantity, defects, correction and recheck |
| Shaping and packing | Approved curve, cooling or setting condition, support and carton arrangement | Packing reference, carton check and release status |
| Final inspection | Projection, width, symmetry, curve, appearance and agreed functional checks | Lot, sample size, results, approval and retained sample |
Packaging belongs in the specification because compression can change the presentation that the buyer approved. State how caps are nested, whether the visor needs support and how many units sit in each inner pack and carton. The sample-to-bulk quality control guide shows how to link the sealed sample with line and final inspection records.
Include the visor type, scaled outline, projection, width, curve method, insert, top and underside fabrics, edge finish, stitch rows, crown attachment, tolerances, sample ID and bulk inspection plan.
Define it as center-front projection and name both reference points. State whether the measurement follows the surface or uses a straight line, and whether the visor is flat or held to its approved curve.
The better choice depends on activity, fit, brand silhouette, packing and wearer preference. Approve the complete cap in use rather than selecting the visor profile from a component photo.
ASTM D1388-23 measures stiffness properties of fabrics. It may help compare suitable cover materials under controlled conditions, but it does not evaluate a complete visor assembly or prescribe a cap-specific pass value.
Row count alone does not establish strength. Performance depends on the insert, cover fabrics, thread, stitch setting, edge construction and the separate seam that attaches the visor to the crown.
Review it after a change to the insert, fabric, finish, pattern, stitch layout, curve-setting process, attachment construction or packing method. Document the change and decide which checks must be repeated.
For a focused factory review, send your brand or website, intended activity, cap style, reference sample or drawing, quantity per style and color, vector logo file, target market, destination and required delivery date. Add the preferred visor profile, material requirements, measurement method and any customer test standard already used by your program.
You can send the project details to JoinTop and use the inquiry form at the bottom of the Contact Us page. A complete brief gives the development team enough information to review the visor construction, plan the sample and identify open decisions before bulk production.

 EN
EN  ES
ES  FR
FR  AR
AR  JA
JA  KO
KO  RU
RU  DE
DE  PT
PT  IT
IT  TR
TR